

How to Reseal a Shower (and When to Call a Pro)
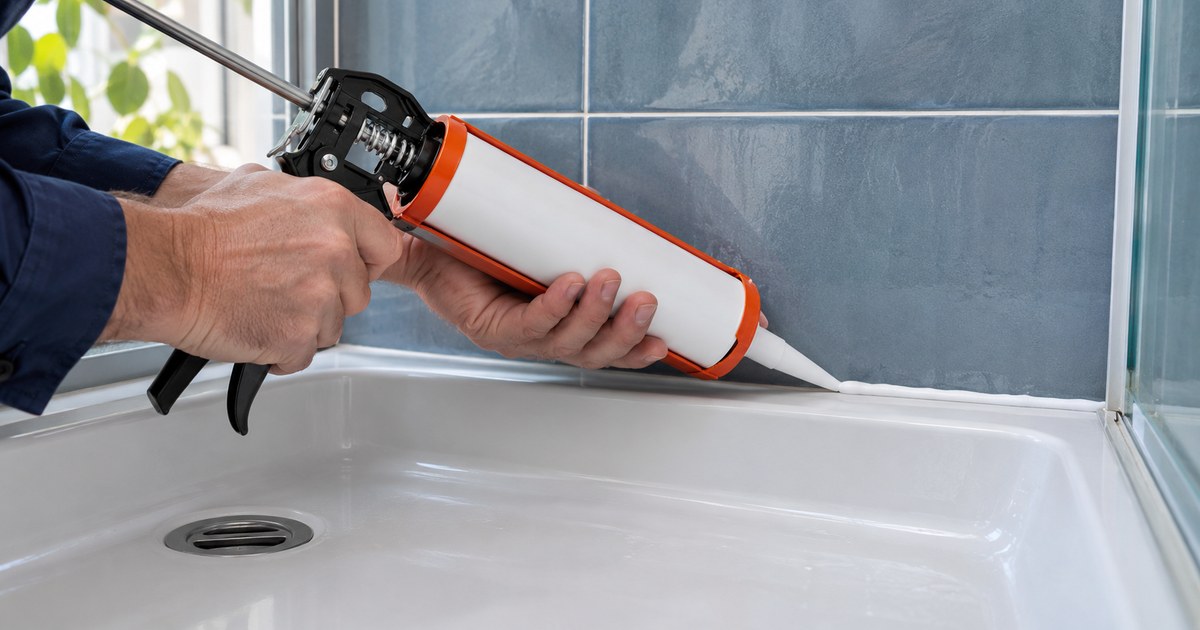
To reseal a shower, cut out all of the old silicone, clean the joint back to bare tile, let it dry completely, then apply one continuous bead of sanitary silicone, smooth it and leave it to cure. Removal and drying take most of the time. If the leak continues after a careful reseal, the fault is in the grout, the base or the membrane.
- New silicone will not stick to old silicone, soap film or a damp joint.
- Reseal every junction in the recess, not only the one that looks bad.
- Bathroom resealing is maintenance. It will not fix cracked grout or a failed membrane.
The steps
- Stop using the shower the day before, so the joints start dry.
- Remove the old silicone from every junction. The method is in the next section.
- Wash the joint. Soap film and mould have to be scrubbed out and rinsed away, and a wipe with methylated spirits removes what is left.
- Dry it. Leave the joints to dry fully. Overnight with the fan on is a sensible minimum, and longer if water was sitting behind the old bead.
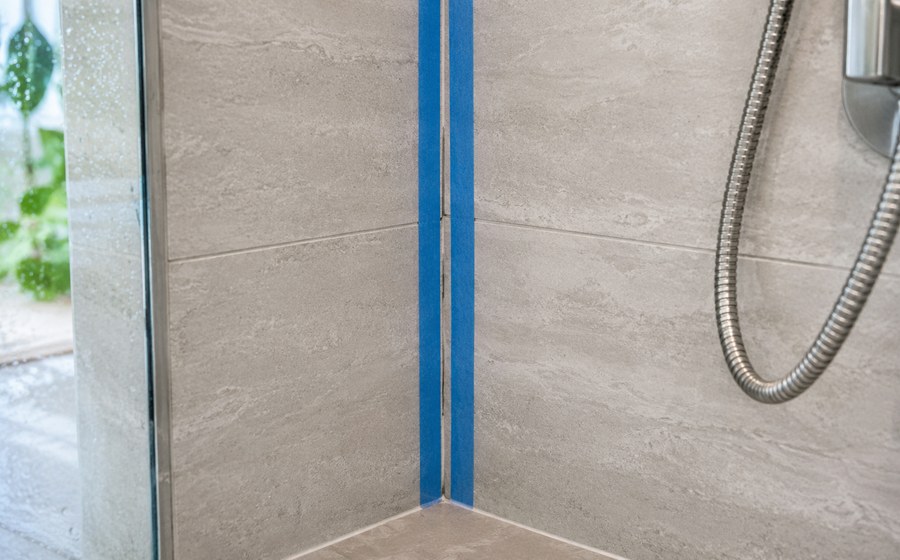
- Mask. Run tape along both sides of each joint, a few millimetres back from the corner.
- Cut the nozzle at an angle, slightly narrower than the joint.
- Apply the bead in one steady pass, pushing the silicone into the joint. Do not stop and start in the middle of a run.
- Tool it. Smooth the bead with a profiling tool or a wetted finger so it presses onto both surfaces.
- Pull the tape straight away, before the silicone skins.
- Leave it to cure. Keep the shower dry for the time on the tube.
How to remove old silicone from a shower
This is the step that decides whether the reseal lasts, and the one most often rushed.
- Slice both edges. Run a sharp utility knife along the top and bottom of the bead where it meets the tile, keeping the blade flat so it does not scratch.
- Pull the bead out. Grip one end with pliers and peel. Long strips come away when the edges have been cut properly.
- Scrape the residue. Use a plastic scraper or a razor scraper held at a low angle. Take care on acrylic bases, which scratch easily.
- Soften what is left. A silicone remover gel, left for the time on the label, loosens the thin film that scraping misses.
- Wipe clean. Finish with methylated spirits on a cloth until the surface squeaks.
Run a fingertip along the joint when you think you have finished. Any slippery feel means silicone is still there, and new sealant will let go at that spot.
Resealing the shower base, floor and tiles
Resealing shower junctions means more than the bead you can see at the front. A full reseal covers each of these.
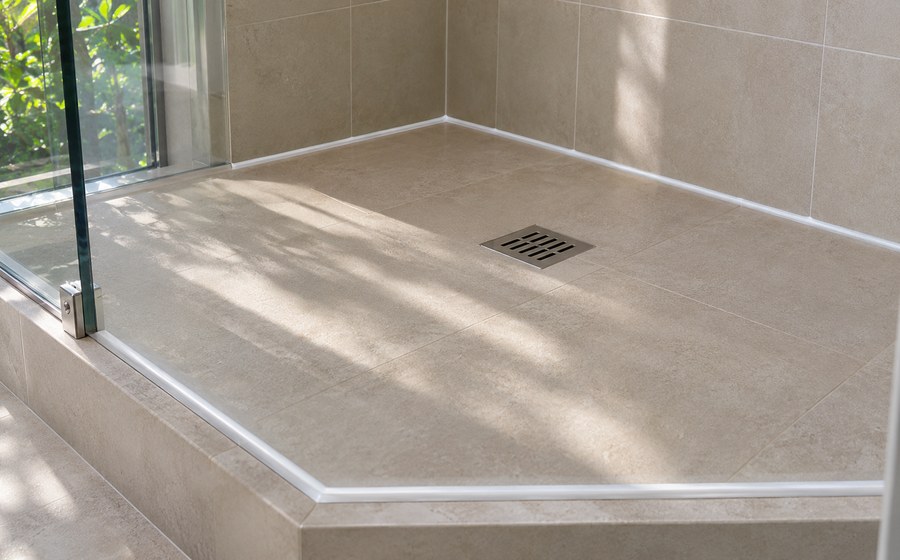
- The base or floor edge. The joint where the floor or base meets the walls takes the most water. Seal the full perimeter.
- The internal wall corners, from the floor to above the height of the shower rose.
- The waste. Seal around the grate where it meets the floor.
- The hob, along both sides and across the top where the screen sits.
- The screen. Seal the outside of the frame where it meets the wall and the hob. On a framed screen, leave the inside bottom edge unsealed so water that gets into the track can drain back into the shower.
- Fittings. Seal around the edge of the tap cover plates and the shower arm.
Silicone belongs in the joints that move. The joints between tiles are grout, and no sealant bead will repair them.
Which sealant to use in a shower
| Sanitary silicone | Polyurethane | Hybrid polymer | |
|---|---|---|---|
| Flexibility | High, and stays flexible | Good | Good |
| Constant water | Made for it | Not usually rated for it | Only products labelled for wet areas |
| Mould resistance | Contains a fungicide | Varies | Varies by product |
| Paintable | No | Yes | Yes |
| Typical use | Showers, baths, basins | Building and expansion joints | General sealing and bonding |
| In a shower | The standard choice | Not the usual choice | Only if the label says so |
General guidance. The label and data sheet of the product you buy decide where it can be used.
Look for the words sanitary, wet area or bathroom on the tube. A neutral-cure silicone is the safer pick beside natural stone and metal trims. Avoid general-purpose acrylic gap filler: it is made for painting over, not for standing water.
Common mistakes
- Applying new silicone over old, or over residue.
- Sealing a joint that is still damp, which traps water behind the bead.
- Leaving gaps at the corners where two runs meet.
- Using too little, so the bead only touches one surface.
- Sealing the inside bottom edge of a framed screen, which traps water in the track.
- Showering before the silicone has cured.
- Resealing over cracked grout and expecting the leak to stop.
Making a reseal last
- Ventilate after every shower so the bead dries out.
- Rinse soap and shampoo off the joints. Residue feeds mould.
- Clean with mild products and a soft cloth. Abrasives and harsh chemicals shorten the life of the seal.
- Check the bead a few times a year and deal with lifting edges early.
Silicone is a wearing part. For what to expect and when to check it, see how often to reseal.
When to call a pro
Call someone when the leak comes back after a careful reseal, when black mould sits under joints all around the recess, when grout is cracked or tiles are loose, or when there is damp in another room. Those are signs the silicone was not the only fault.
A professional shower resealing visit strips and renews every junction at once and checks the grout the old beads were hiding. Where the water has been getting further than the seals, permanent leaking shower repairs start with finding the leak path, so the right part is repaired. In NSW, anyone you pay to do waterproofing worth more than $5,000 in labour and materials must hold a contractor licence.
Frequently asked questions
How do I reseal a shower?
Cut out all of the old silicone, clean the joints back to bare tile, let them dry fully, then apply a continuous bead of sanitary silicone to every junction, smooth it and leave it to cure before using the shower.
How do I remove old silicone from a shower?
Slice along both edges of the bead with a sharp knife, peel it out, scrape off the residue, use a silicone remover gel on the film that is left, then wipe the joint with methylated spirits.
How long before I can use the shower after resealing?
Check the tube. Most sanitary silicones are ready for water after about 24 hours. A cold or humid bathroom slows the cure, so allow longer if in doubt.
Can I put new silicone over old?
No. New silicone does not bond to old silicone. It peels within weeks and hides the gap underneath while water keeps getting in. All of the old bead has to come out.
How do I reseal a shower base?
Remove the old bead around the full perimeter of the base, clean and dry the joint, then apply one continuous bead where the base meets the walls and around the waste. Do not leave breaks at the corners.
Why did my new silicone go mouldy?
Usually because the joint was damp or dirty when it was sealed, or because the bathroom does not dry out between showers. Mould that appears under the bead soon after a reseal means water is getting in behind it.
Got a leaking shower?
Book an inspection and a fixed-price quote. We come to you, anywhere in Sydney.
Get my quote