

How to Waterproof a Shower (and Why It's a Licensed Job in NSW)
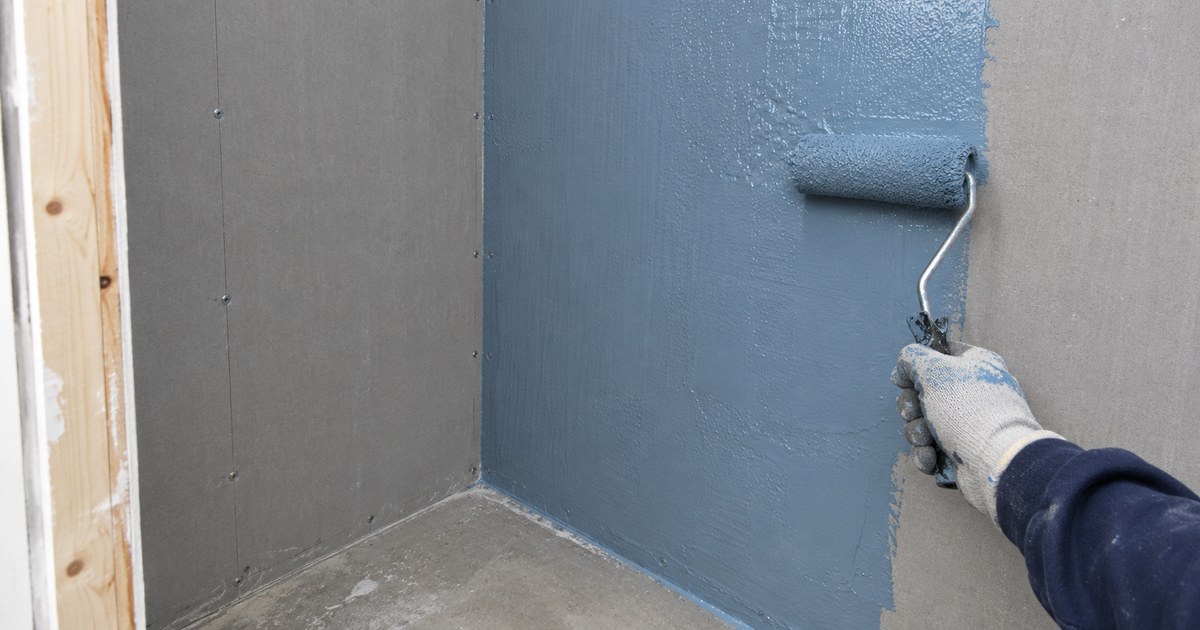
To waterproof a shower, the surface is prepared and primed, every corner, junction and pipe penetration is detailed and reinforced, a membrane is applied in coats across the floor and up the walls, and it is left to cure before tiling. In NSW, paid waterproofing work over $5,000 must be done by a licensed contractor, and the work has to meet the National Construction Code.
- Waterproofing is a system: preparation, primer, junction detailing, membrane and curing. Skipping one step defeats the rest.
- The National Construction Code requires the shower floor and the shower walls, to at least 1800 mm, to be waterproof.
- It cannot be checked or repaired once the tiles are on, which is why it is licensed work.
Why it is a licensed job in NSW
The NSW Government classes waterproofing as trade work and defines it as any protective treatment that stops water getting into a home, or escaping from a wet area such as a shower. A contractor licence is required to carry out, advertise or contract for residential work, waterproofing included, valued at more than $5,000 in labour and materials including GST.
There is a practical reason behind the rule. A membrane is hidden for the rest of its life. Nobody can see whether it was applied to the right thickness or lapped properly at the corners, and the first sign of a mistake is damage to the room below. A licence and a certificate are the only assurance an owner gets.
How it is done
- Prepare the surface. The floor and walls must be clean, dry and sound, with no dust on them and the floor falling to the waste.
- Prime. A primer matched to the membrane and the surface is applied so the membrane bonds.
- Detail the junctions. Wall-to-floor junctions and wall corners are sealed and reinforced, because that is where buildings move.
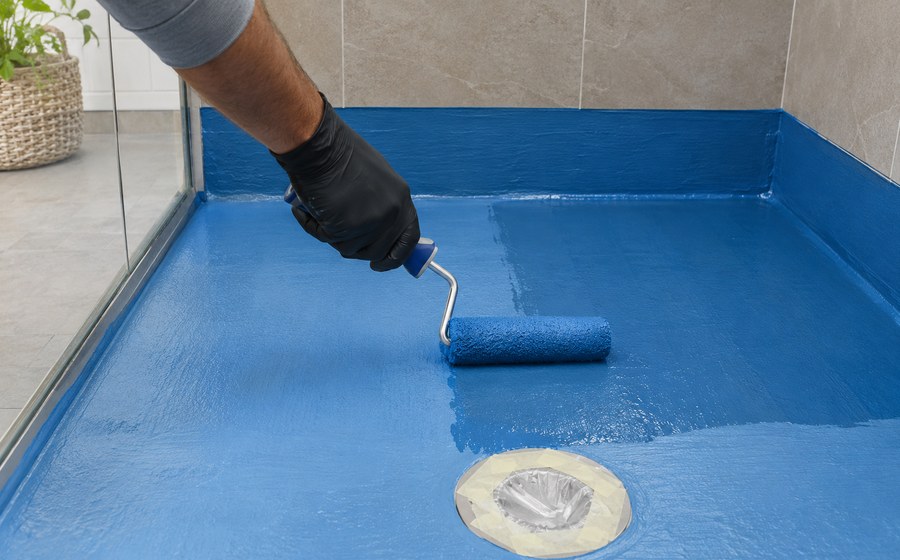
- Seal the penetrations. The waste, tap bodies and the shower arm are each sealed into the membrane.
- Apply the membrane. It goes on in coats across the floor, over any hob and up the walls.
- Cure. The membrane is left for the time its data sheet requires.
- Test and tile. Many waterproofers flood-test the floor before tiles go down.
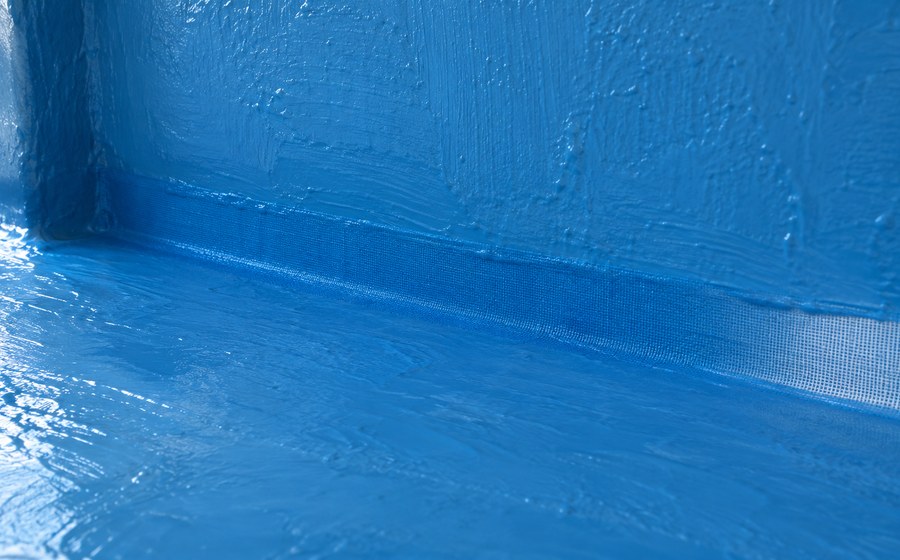
Waterproofing shower walls and floors
The National Construction Code sets out which parts of a shower must be waterproof. Under the Housing Provisions for wet areas in the 2022 edition:
- the floor of the shower area must be waterproof, including any hob or step-down;
- the walls of the shower area must be waterproof to not less than 1800 mm above the floor;
- wall junctions within the shower area must be waterproof for at least 40 mm either side of the junction;
- wall-to-floor junctions within the shower area must be waterproof;
- penetrations within the shower area must be waterproof.
AS 3740, the Australian Standard for waterproofing domestic wet areas, describes how to achieve that. Waterproofing a bathroom floor outside the shower follows related rules that depend on the floor construction, which is one reason the scope of a job is set by someone who knows the code.
How many coats of waterproofing a bathroom needs
The answer is on the product data sheet, not in a rule of thumb. Liquid membranes are designed to reach a minimum thickness, and that is normally built up in at least two coats, with the second applied across the direction of the first so that thin spots and pinholes are covered. Some systems add reinforcing fabric between coats.
What matters is the finished thickness everywhere, including the corners and around the waste. One heavy coat is not a substitute. It skins on top, stays soft underneath and cracks as it dries.
Can you waterproof your own bathroom?
The NSW licensing rules are written for people who carry out, advertise or contract for the work. The government’s waterproofing page does not set out a separate rule for owners working on their own home, so check with NSW Fair Trading before you start, and in a strata building check the by-laws as well. Even where it is permitted, a DIY job has consequences that go beyond the law.
| DIY | Licensed waterproofer | |
|---|---|---|
| Cost up front | Materials only | Labour and materials |
| Cost if it fails | Tiles, bed and membrane redone at your expense | Covered by the contractor’s guarantee |
| Compliance | No certificate that the work meets the code | Certificate of compliance supplied |
| Strata and certifiers | Often will not accept uncertified work | Accepted |
| Selling the home | No paperwork to show a buyer | Certificate on file |
| Warranty | None on workmanship | Workmanship guarantee in writing |
General comparison. Check your own strata by-laws, insurance policy and council requirements.
Our professional bathroom waterproofing is carried out to AS 3740, with a waterproofing certificate and a 100% workmanship guarantee in writing.
Why waterproofing fails: the common mistakes
- Applying membrane to a dusty, damp or unprimed surface, so it never bonds.
- Skipping the reinforcing at corners and junctions.
- Too little membrane: one coat, or coats rolled out too thin.
- Not sealing the waste and the tap penetrations into the membrane.
- Stopping the membrane short on the walls or at the hob.
- A floor that does not fall to the waste, so water ponds on the membrane.
- Tiling before the membrane has cured.
- Damaging the cured membrane with tools, ladders or foot traffic before tiling.
- Using a primer or adhesive that is not compatible with the membrane.
The choice of product matters too. The types, and where each suits, are covered in waterproofing membranes explained.
What it costs
The membrane itself is a small part of the price. Most of the cost is the preparation and the time spent on corners, junctions and penetrations, and re-waterproofing an existing shower costs more than a new one because the old finish has to come off first. Our guide to what it costs explains what moves the price and what a quote should contain.
Frequently asked questions
How do you waterproof a shower?
Prepare and prime the surface, reinforce the corners and junctions, seal the waste and tap penetrations, apply the membrane in coats over the floor, hob and walls, let it cure, then tile. The work must meet the National Construction Code.
How many coats of waterproofing do I need?
As many as the product data sheet specifies to reach its minimum thickness. For most liquid membranes that is at least two coats, with the second applied across the first.
How long does waterproofing take to dry before tiling?
It depends on the product, the thickness applied, temperature and humidity. The data sheet gives the minimum, which is commonly a day or more, and longer in cold or humid weather. Tiling too early is a common cause of failure.
Can I waterproof my own bathroom in NSW?
NSW requires a contractor licence for paid waterproofing work over $5,000. The government’s licensing page does not set out a rule for owners doing their own, so check with NSW Fair Trading first. A DIY job will not come with a compliance certificate.
Do shower walls need waterproofing?
Yes. The National Construction Code requires the walls of a shower area to be waterproof to at least 1800 mm above the floor, along with the wall junctions and any penetrations such as taps.
Can you waterproof over existing tiles?
A membrane that meets the code goes on the surface under the tiles, not over them. Leaks through joints and junctions can be repaired from the surface with the tiles in place, but a failed membrane means lifting tiles in that area.
Got a leaking shower?
Book an inspection and a fixed-price quote. We come to you, anywhere in Sydney.
Get my quote